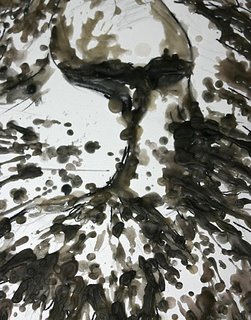
The making of a Lion
You want to see how it's done?
Check below how to go from this

to this

I’m sure my tens of fans out there are interested, just how are you doing what you’re doing? Well, maybe not, but regardless, I’m going to show you anyway.
Part of it is kind of a trade secret, you don’t want to give it all away, I think I’m the only one doing this technique, whether anyone in the world but me calls it the “Clemmer Technique” I’d be floored. Regardless, here’s the basic process of how I wax a canvas and create a piece of art work that, I feel is unique and pretty damn cool.
1. Draw the image. If you’re going after an abstract image, then drawing what you hope for is necessary, but if you’ve decided to try something a little more ‘image-like’ then you’re going to want to pencil out the basic shape that you’ll want to have.
Below is the initial drawing that I did of an african lion, from a photograph. I just did a basic sketch and then used a Sharpie marker to highlight enough to be able to see it properly under the wax.

2. After the lion is drawn, you have to light the candle(s). I know I didn’t have to tell you that, but what the heck, this is my show and I’ll instruct it how I want....

3. Begin to lay down the first layers of wax. Pic the areas that you’re interested in doing simple lines and those that are going to need multiple layers. Many lines can be laid down and or scraped off and redone, but it all begins with the first few drops of melting wax on to the canvas. How far you hold the candle away from the canvas can also influence the size of the drops as well as the angle you hold the candle and the canvas. Do you leave it flat? Do you angle the canvas to let the molten wax run? That’s up to you.

4. You need to know that at times the wax isn’t going to do what you want it to. You have to be patient and yet, allow for the wax to be a little messy. Often what you do, that you think will blow the piece adds to it, and so make it work. If you really don’t like what you just laid down, use an Exacto knife to cut it out, or scrape the excess wax off. It comes off easier than you’d like at times so be careful that you don’t take it all off in one fell swoop.

and

5. Okay, you’ve basically finished the first step. Take a step back and look at any spots that may need more wax, or areas that need some wax removed. Look at the image and decide what you need to do, if any. At this point, the wax is quite fragile, so be careful when handling it. It lifts off the canvas easily, so take it easy. I have physically dropped a canvas at this point, and 90% of the wax fell off. I swore, then swore some more. I nearly cried. I took a break and came back to it.
6. Okay, here’s the rub. The wax needs to be solidified. It’s fragile, like I said. Once you’ve solidified the wax, and it’s all dry, you should use a Gesso or some other binding medium so the acrylic paint will stick to it. Regular acrylic paint will not stick to the wax on its own.

7. Start painting. Finish painting. That’s it. Obviously, painting takes the longest of all the steps, but by this point, if you don’t know how to paint, you shouldn’t have started this process already. Basically start with your darker colours first and work lighter. There’s always the mono-chromatic colour scheme which is very cool. Otherwise you can just keep painting over top the last colour until you’re happy or out of paint. This is the final look, with the exception of painting on a gel gloss or other effect like a dark brown/black wash over it, with the high points wiped off.
The end. Good luck.

This is my favourite comparison


